A Pocket-Sized NES Revival Built from Scratch
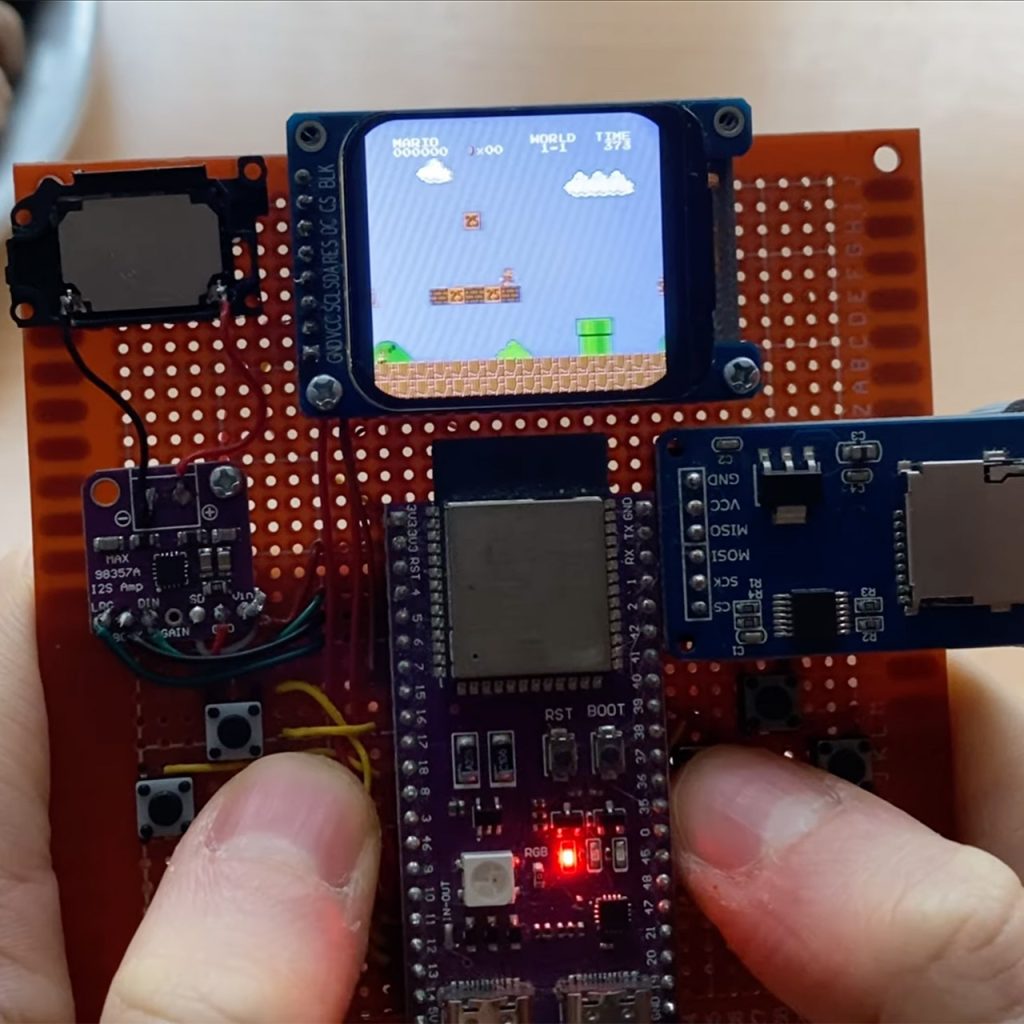
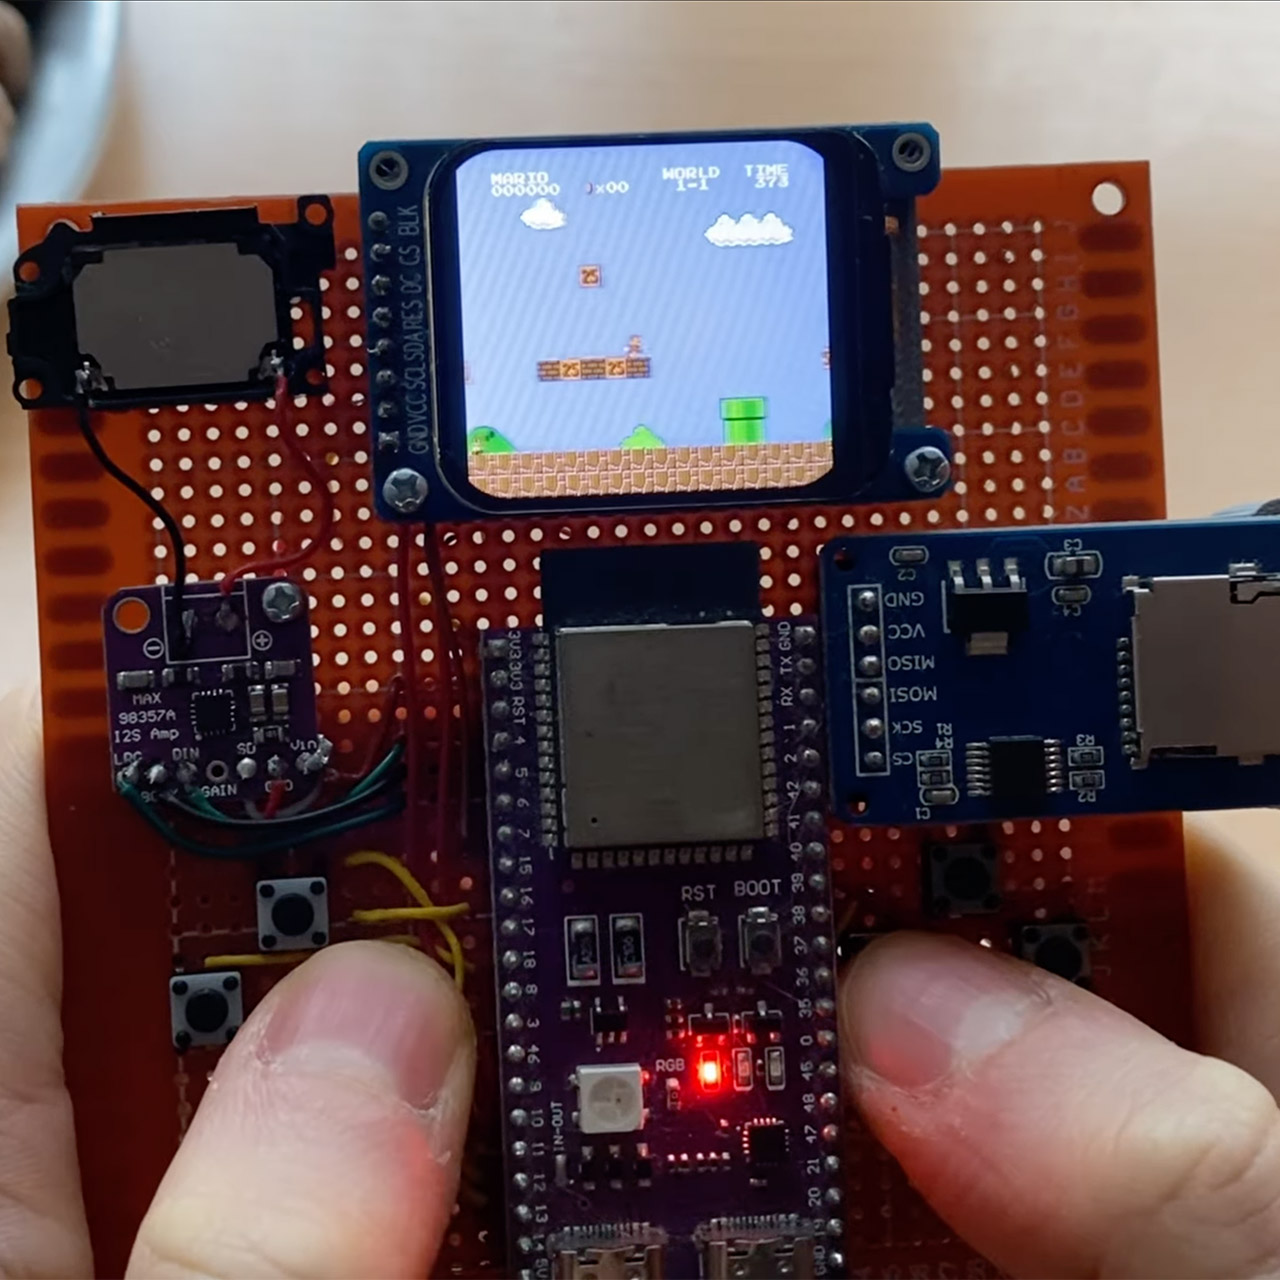
Retro gaming handhelds remain popular because they are still very basic and entertaining. This retro charm is heightened by a new project that enables anyone to build their own portable NES emulator with just a few simple parts and open code. Gamer Derda Cavga created this arrangement using the ESP32-S3 microcontroller. He built a sleek portable that can play vintage 8-bit games flawlessly out of a small collection of hobbyist components.
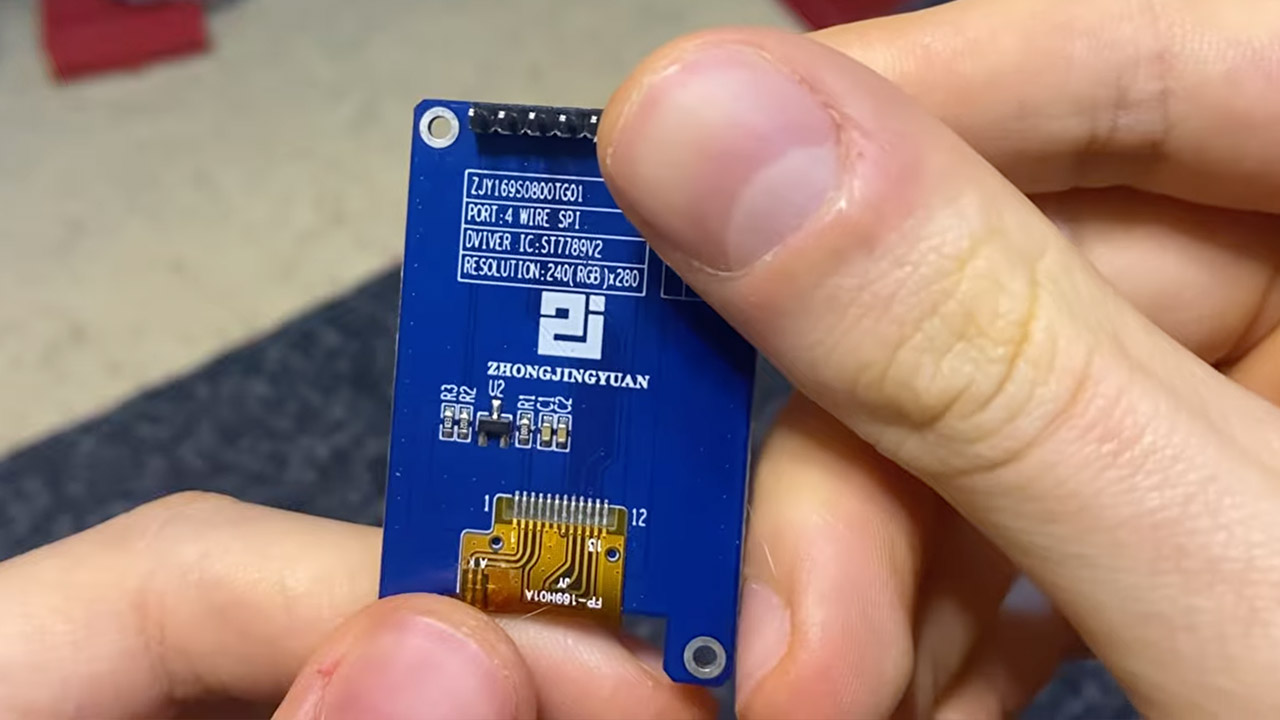
The ESP32-S3 development board, which he chose because it has a dual-core processor, 16 MB of flash storage, and 8 MB of PSRAM, is at the heart of the design. With all of that, the build has enough power to run NES emulation without lag. It links to a 1.69-inch ST7789 TFT screen via SPI, delivering a brilliant 280×240 resolution that fits into a small container while yet displaying the games well. All controls are activated via eight tactile buttons: Start and Select for menus and game pauses, a directional pad for movement, and A and B for actions. To load games, simply insert a microSD card formatted in FAT32.If you place ROM files directly in the root directory, the on-screen list will only show short filenames to keep things organized.
The sound is provided by a small speaker and an optional MAX98357A I2S amplifier, but many users turn it off at first to ensure good operation. The sound is functional, but there is definitely space for improvement. It is powered by a LiPo battery and typically contains a TP4056 charging module for added convenience, allowing you to continue playing after you charge it.
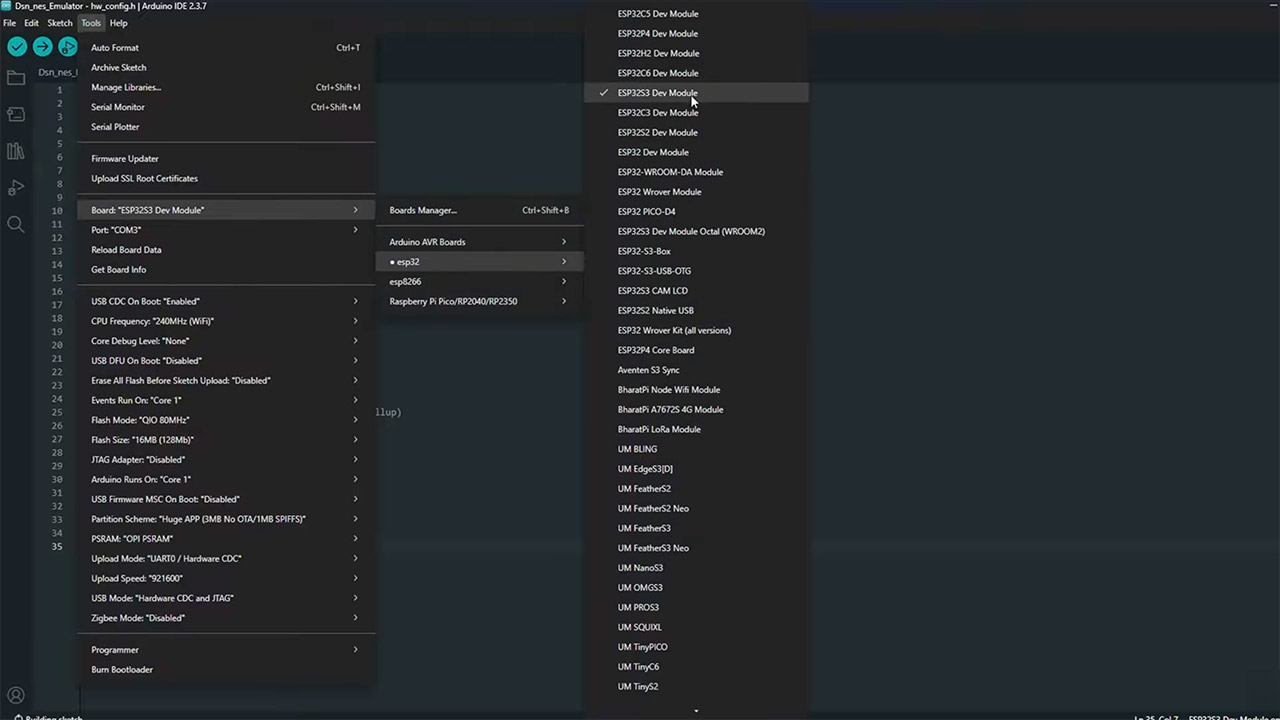
First, organize the wiring in accordance with the pinout in the project’s hw_config.h file. The display uses GPIO pins to transmit clock, data, reset, and data/command signals. The buttons just connect to ground and independent GPIOs, while the SD card reader is attached via another SPI set. This is commonly done on a breadboard or perfboard before settling on a final arrangement. Once you’ve sorted out all of the connections, all you have to do is upload the code using the Arduino IDE. The ESP32-S3 Dev Module board must be picked, the CPU speed increased to 240 MHz, OPI PSRAM enabled (this is required to run most games without problems), and the Huge APP partition scheme selected.
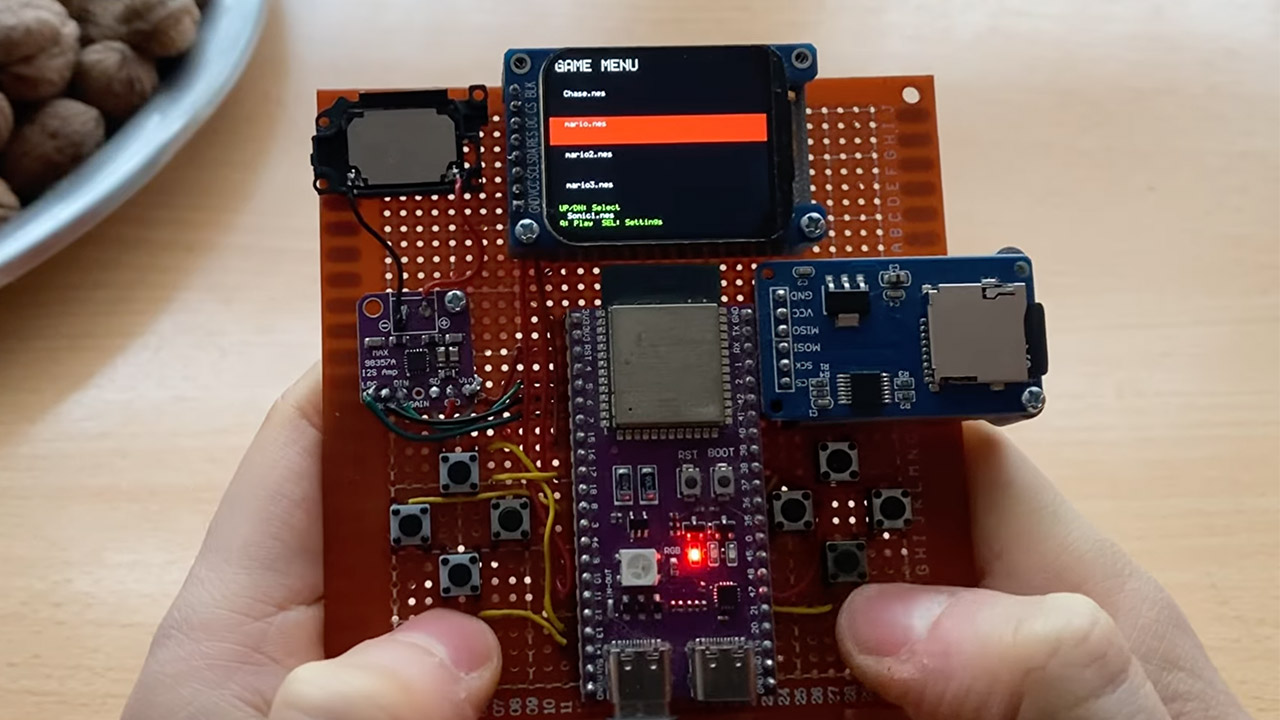
The software is a modified version of the esp-nofrendo emulator, but it has been specifically optimized for the ESP32-S3 and includes a custom graphics driver for the ST7789 built right in; there are no external TFT libraries to deal with. After you’ve flashed it, the device will boot up to a screen where you may scroll through available titles using up and down, select one using Select, and launch the game using Start. Super Mario Bros. works as smoothly as it did on the original NES, with the same pace, feel, and everything. Many more oldies operate similarly, as the emulation is consistent over a wide range of titles. Get the plans on Github here.
[Source]
A Pocket-Sized NES Revival Built from Scratch
#PocketSized #NES #Revival #Built #Scratch